One of the aspects of Raspberry Pi that makes it incredible useful is its size. Due to its compact size, Pi can be used to provide computing power at locations where it would be impractical to locate a full desktop or laptop. Often the Pi is run as a headless unit, ie there is no monitor or keyboard connected to the Pi. All troubleshooting is done by connecting to the Pi over the network using SSH or any of the remote desktop protocols. However, there could be various scenarios, especially in outdoor projects, where there is no network connectivity. You still need to be able to connect to the Pi from a laptop for troubleshooting purposes. This post describes how you may connect to Pi from a Windows 7 laptop by connecting an ethernet cable from laptop's ethernet port to Pi's ethernet port. We utilize a feature of Windows 7 called we called internet connection sharing (ICS) to easily connect to the Pi. It is my understanding that internet connection sharing is a feature that is built into most linux desktop distributions and Mac OS. Therefore, you should be able to perform steps similar to the one described below, if you are attempting to connect to the Pi from a linux laptop and Mac OS.
Setup the Pi to run as a headless unit as described in Setting up truly portable Raspberry Pi System
A laptop with wireless network card and ethernet port
The true purpose of internet connection sharing is to share the internet connection of the laptop with a device connected through the ethernet port. We enable this feature so that your Windows 7 laptop will act as DHCP server and the Pi can automatically obtain an IP address from the Windows 7 laptop. The primary benefit of this approach is that one does not have to manually set any IP addresses or gateways on the laptop or the Pi. Therefore, this method is much less error prone. As an added bonus, the Pi also gets the share the internet connection of the laptop, if the laptop is connected to the internet through its wireless card.
1) Connect the ethernet port of the laptop to the ethernet port of Raspberry Pi.
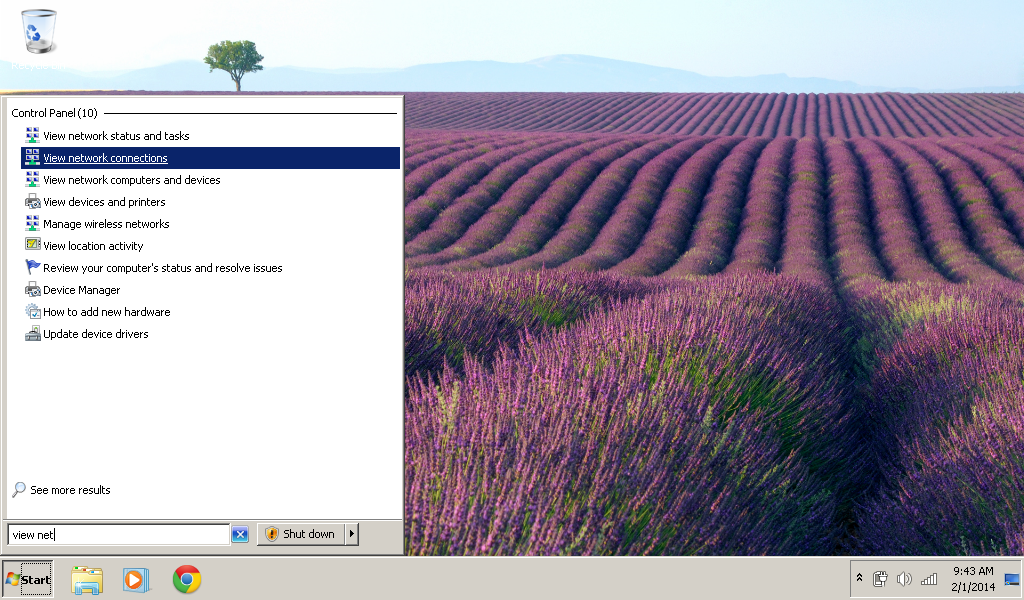
2) From the start menu on the laptop, search for "View Network Connections" and open it as shown below.
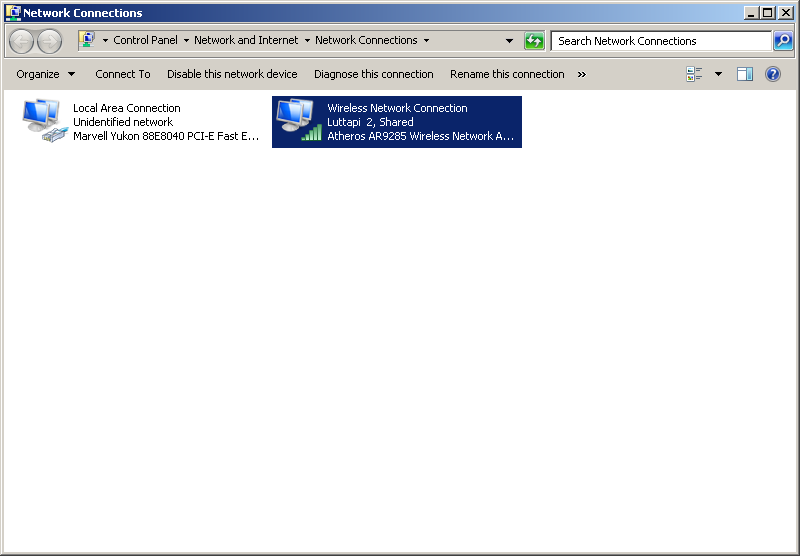
3) Atleast two network connections should be visible as below. One indicates you wireless network connection and the other indicates the ethernet connection. Right-click on the wireless network connection and select "properties".
4) In the properties window, select the "Sharing" tab. Select both checkboxes, and click "OK".

5) Restart your laptop. Restarting is important as I have never got the internet sharing to work without restarting the laptop. The Pi will be automatically obtain an IP address from the DHCP server on the laptop upon restart.
In order to connect to the Pi using SSH, you need to know the IP address that is assigned to the Pi. You can easily find this out using the command
ping <hostname>

The default hostname of Raspberry Pi is "raspberrypi" . I have changed the hostname to "trasparent". See the IP address of the Pi received as a response to the ping command.
More details about finding the dynamically assigned IP address from any OS is described in the post Setting up truly portable Raspberry Pi System

Prerequisites
Setup the Pi to run as a headless unit as described in Setting up truly portable Raspberry Pi System
A laptop with wireless network card and ethernet port
The true purpose of internet connection sharing is to share the internet connection of the laptop with a device connected through the ethernet port. We enable this feature so that your Windows 7 laptop will act as DHCP server and the Pi can automatically obtain an IP address from the Windows 7 laptop. The primary benefit of this approach is that one does not have to manually set any IP addresses or gateways on the laptop or the Pi. Therefore, this method is much less error prone. As an added bonus, the Pi also gets the share the internet connection of the laptop, if the laptop is connected to the internet through its wireless card.
Steps to enable internet connection sharing:
1) Connect the ethernet port of the laptop to the ethernet port of Raspberry Pi.
2) From the start menu on the laptop, search for "View Network Connections" and open it as shown below.
3) Atleast two network connections should be visible as below. One indicates you wireless network connection and the other indicates the ethernet connection. Right-click on the wireless network connection and select "properties".
4) In the properties window, select the "Sharing" tab. Select both checkboxes, and click "OK".
5) Restart your laptop. Restarting is important as I have never got the internet sharing to work without restarting the laptop. The Pi will be automatically obtain an IP address from the DHCP server on the laptop upon restart.
In order to connect to the Pi using SSH, you need to know the IP address that is assigned to the Pi. You can easily find this out using the command
ping <hostname>
The default hostname of Raspberry Pi is "raspberrypi" . I have changed the hostname to "trasparent". See the IP address of the Pi received as a response to the ping command.
More details about finding the dynamically assigned IP address from any OS is described in the post Setting up truly portable Raspberry Pi System
Troubleshooting:
Some users may have multiple network connections on your laptop. In that case you will have a drop down in the sharing tab of the wireless network connection. Make sure you select the Local Area Connection to which you have connected the Pi.
If you don't see the drop down or an incorrect connection is selected, you might have to uncheck the check boxes in sharing tab and restart and repeat the steps to see the drop down and select the right connection.